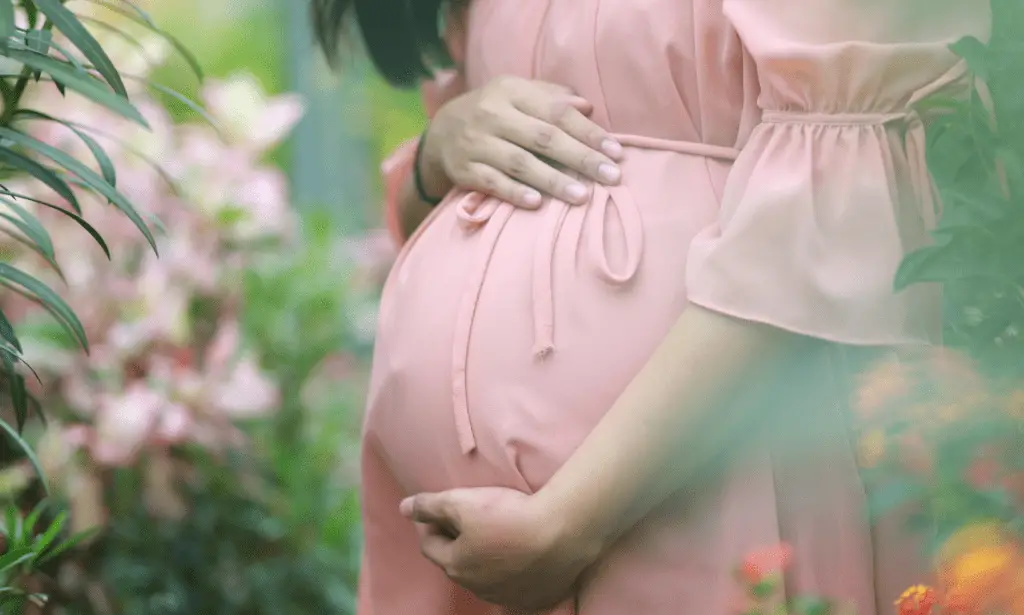
Nothing is more stressful than finding a cute yet comfortable outfit when pregnant. All mothers and expectant mothers can agree with me on that, right? Everything is too tight or small, especially when you want to rock a stylish maxi skirt.
Most pregnant moms resort to wearing flowy maxi dresses, which are fine, but now and then, switching up your style feels nice. So I thought, why not prepare a guide and help you make stylish maternity maxi skirts that will keep you fashionable throughout your pregnancy? We will explore different DIY techniques and list everything you need to start.
Are you ready? Here goes;
What You’ll Need
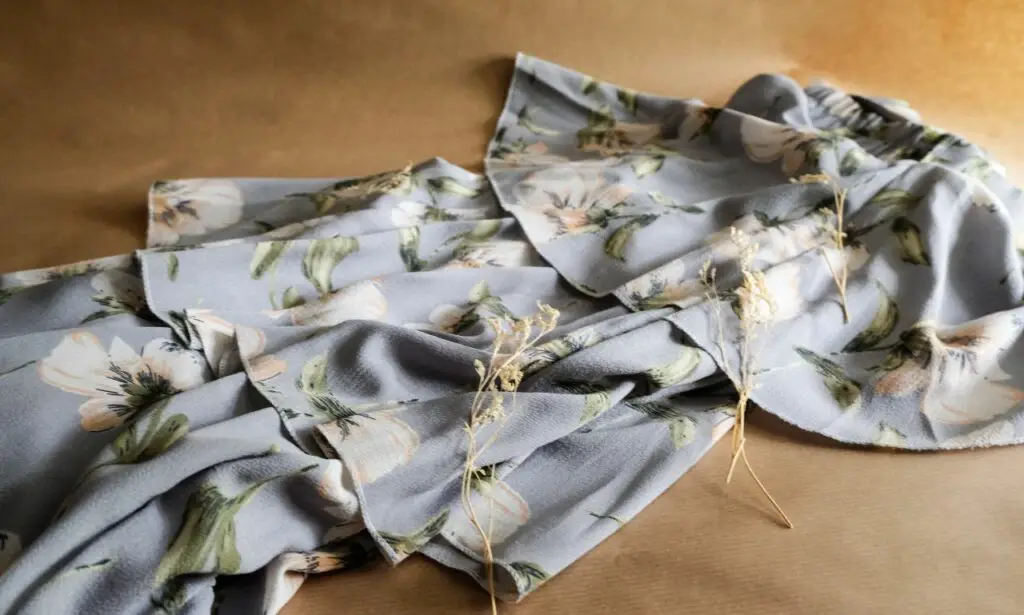
- About 2 meters of your preferred fabric (stretchy fabrics are better for pregnant women)
- An elastic band
- A chalk, pencil, or marker
- Fabric scissors
- Measuring tape
- Safety pins
- Thread
- Sewing machine
What to Do: A Step-by-Step Guide
1. Get Your Measurements
Measuring yourself comes first because you must determine the desired skirt size. You’ll start by measuring your waist and hips and then proceed to get your height, depending on how long you want the skirt to be (ankle-length or floor-length). I recommend adding at least 5cm to your measurements for a better fit. In addition, you’ll need extra fabric for the belly area. I’ll explain how to make a DIY belly band below.
2. Prepare the Fabric
Once you have your measurements, lay your fabric on a large, clean surface. The surface must be flat to avoid inaccurate folds and measurements. Next, create a double layer of material by folding it in half, with the right sides facing each other.
3. Cut the Fabric
Mark the measurements (Step 1) using chalk or marker. The width represents your hip size, and the length is your height. After marking, cut the fabric lengthwise to produce a rectangular fabric piece. Remember to extend a few fabric inches on both ends to leave room for gathering around the hip and waist area and hemming the bottom part of your skirt.
4. Sew the Side Seam
Fold the rectangular fabric in half, with the right sides facing each other (long edges). Use your safety pins to secure the fabric and start sewing. I recommend the straight stitch because it is cleaner and allows you to spare a ½ inch of the seam allowance. However, the zigzag stitch works perfectly using jersey knit fabric. The result should be a tube-like unfinished fabric.
5. Prepare Your Waistband
The waistband is essential because it ensures the waist area is stretchy enough to accommodate your growing belly. So, use your waist measurements to cut a piece of the elastic while considering your belly growth. Fold the elastic ends, overlapping them by an inch and sewing them. Next, mark four equal sections and attach them to the tube (Step 4). Also, keep reading for the DIY belly band project below.
6. Attaching the Waistband
Take the maxi skirt body in (Step 4) and fold it by an inch to create a casing for the elastic waistband. Press the folded part with an iron, insert the band, and use pins to hold it. Remember, the markings you made in (Step 5) must align with the skirt’s side seams. Sew the elastic with a zigzag stitch and stretch the waistband as you sew for a better fit.
7. Complete the Hemming
With everything in place, determine your desired skirt length and hem the skirt. Usually, it is easier to try on the skirt and mark the hemline so you get the right length. Cut off the unmarked parts and leave at least an inch for the hem. Next, fold the edge inwards (1/2-inch), press it, then fold the remaining half and press it again. Pin the fabric in place and hem it using a straight stitch. Finally, take out the pins, and press the hem once more for a cleaner look.
8. Clean-Up the Maxi Skirt
The hemming is the final step. Therefore, trim all hanging threads and excess fabric after you finish hemming to avoid a bulky-looking skirt. Straighten all the corners and iron the full skirt. And that’s it! You have your stylish maternity skirt designed to accommodate your body changes.
However, I did promise you a tutorial on how to make a DIY belly band. Here are the steps you should follow;
- First, you’ll need a fitted tee or a small t-shirt that snugs your growing bell perfectly. You’ll place the bottom of the tee against the tip of your belly and pull the t-shirt down to cover your entire stomach. Mark the shirt in all the areas that align with where your baby bump connects to the waist.
- Spread the tee on a flat surface and cut it at the marked areas, separating the bottom part from the top. You won’t need the top part of the tee. But remember to leave at least an inch of seam allowance.
- Next, turn the tee inside out and fold the part that went against the tip of your belly by ½ an inch. Use the zigzag stitch to sew the hem and leave a 2-inch gap after the first and before the last stitches. The opening will accommodate an elastic piece.
- Then, cut 0.64 cm of the elastic band and use a safety pin to insert it through the hem you created above.
- Gather the fabric along the elastic, remove your safety pins, and then overlap the ends by an inch before you sew them tightly using a zigzag stitch.
- Tuck your elastic by spreading the fabric, and sew across the gaps for a cleaner finish.
- Finally, return to the tube in (Step 4) and attach your waistband to the skirt body. Align the bottom part of your waistband with the top opening of the skirt and secure them with pins.
- Attach the two parts using a zigzag stitch and remove the safety pins. That’s it!
Making maternity clothes at home may seem challenging, but they’re not. All you need are the requirements, a detailed guide, and the zeal to complete DIY projects. Moreover, you can design fashionable yet comfortable maternity outfits for different events and seasons. Plus, you can add pockets to all your skirts. How fun!
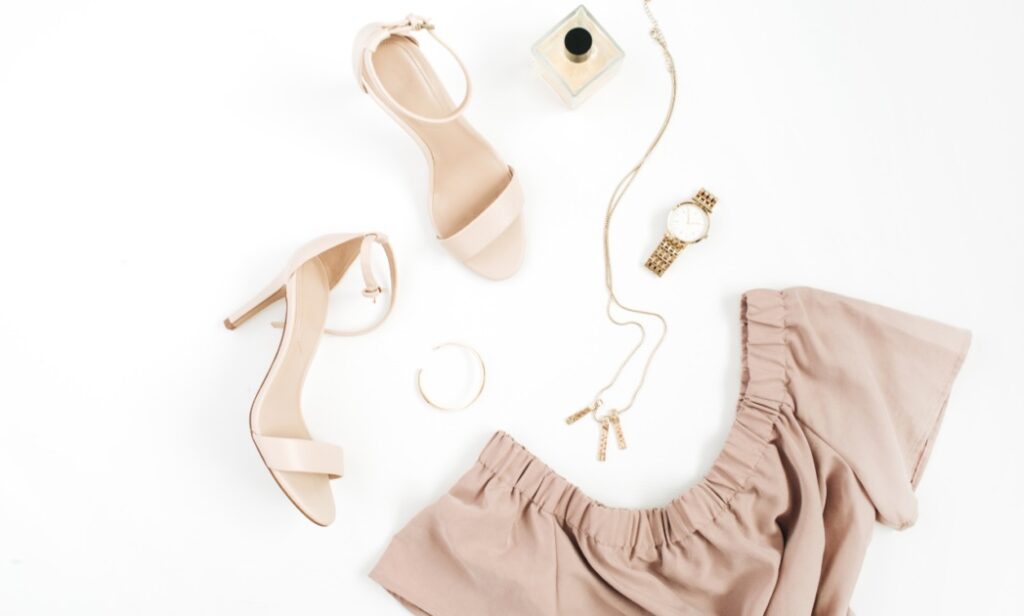
Styling your maternity maxi skirts is similar to styling regular maxi skirts. You can pair your skirt with fitted tees, dress tops, or crop tops for moms who don’t mind showing off their bellies. Similarly, layering your outfit with denim or leather jacket, blazers, and button-down shirts, gives you an extra edge. Overall, I advise you to keep an open mind through your pregnancy period and not be afraid to explore new style options. Get some styling tips for flowy maxi skirts here.
Absolutely! You have no idea how many maxi skirts in my closets came from Palazzo pants. However, you can’t really adjust the fabric because palazzos are already cut, but here’s where the DIY belly band comes into play. Use those tips to design a creative belly band to match your skirt body.